>

Prepare to be redirected to thebloominghydrangea.com!

This page is a time delay redirect, please update your bookmarks to my new location at thebloominghydrangea.com!

Showing posts with label kitchen. Show all posts

February 4, 2011

The Kitchen Remodel

When we first considered buying the house we currently live in, Mr.A and I made a list of pros and cons of moving and selling our house that we had just built two years earlier. One of the pros we listed on our sheet was NO large projects needed. HA HA! If you know anything about me at all, I love to just dive in to projects, I start projects while my husband is at work and doesn't know what is going on. (I've been trying to work on that by the way).
We moved into the Colonial as I like to call her, On October 1st. We started demolition of the kitchen the weekend of Thanksgiving. Yeah, ummm....I didn't waste time.
So now here is the real professional part of this blog, my floor plan drawings. They are literally drawings done by me and a black sharpie. Please don't e-mail me asking for this professional service, it's a one time deal. Ok, seriously, I didn't know how else to explain the layout so here it is:


See, I told you it was real professional like.  It's hard to explain to people through pictures what we did but we basically moved the kitchen into this useless funky room that had a fireplace and then we tore out the old kitchen and that's where our kitchen table, pantry and mudroom are located.  We  had to move the exterior door, put in a sliding glass door and used our fireplace for our oven.
Here are some before pictures:


That concludes the tour of the kitchen, now we are moving onto the funky/useless room.  This picture is taken from the position of the exterior door, facing to your left, the kitchen would be on your right and you can see through the one doorway into the dining room which is brown and blue:


This is the view from the doorway that leads to the dining room, the kitchen is behind the paneled wall.


Now if you aren't totally confused, here's one of my favorite pictures, demolition!!!  I love using a sledge hammer and destroying things, maybe that's too much information for you.


Now onto the good stuff!


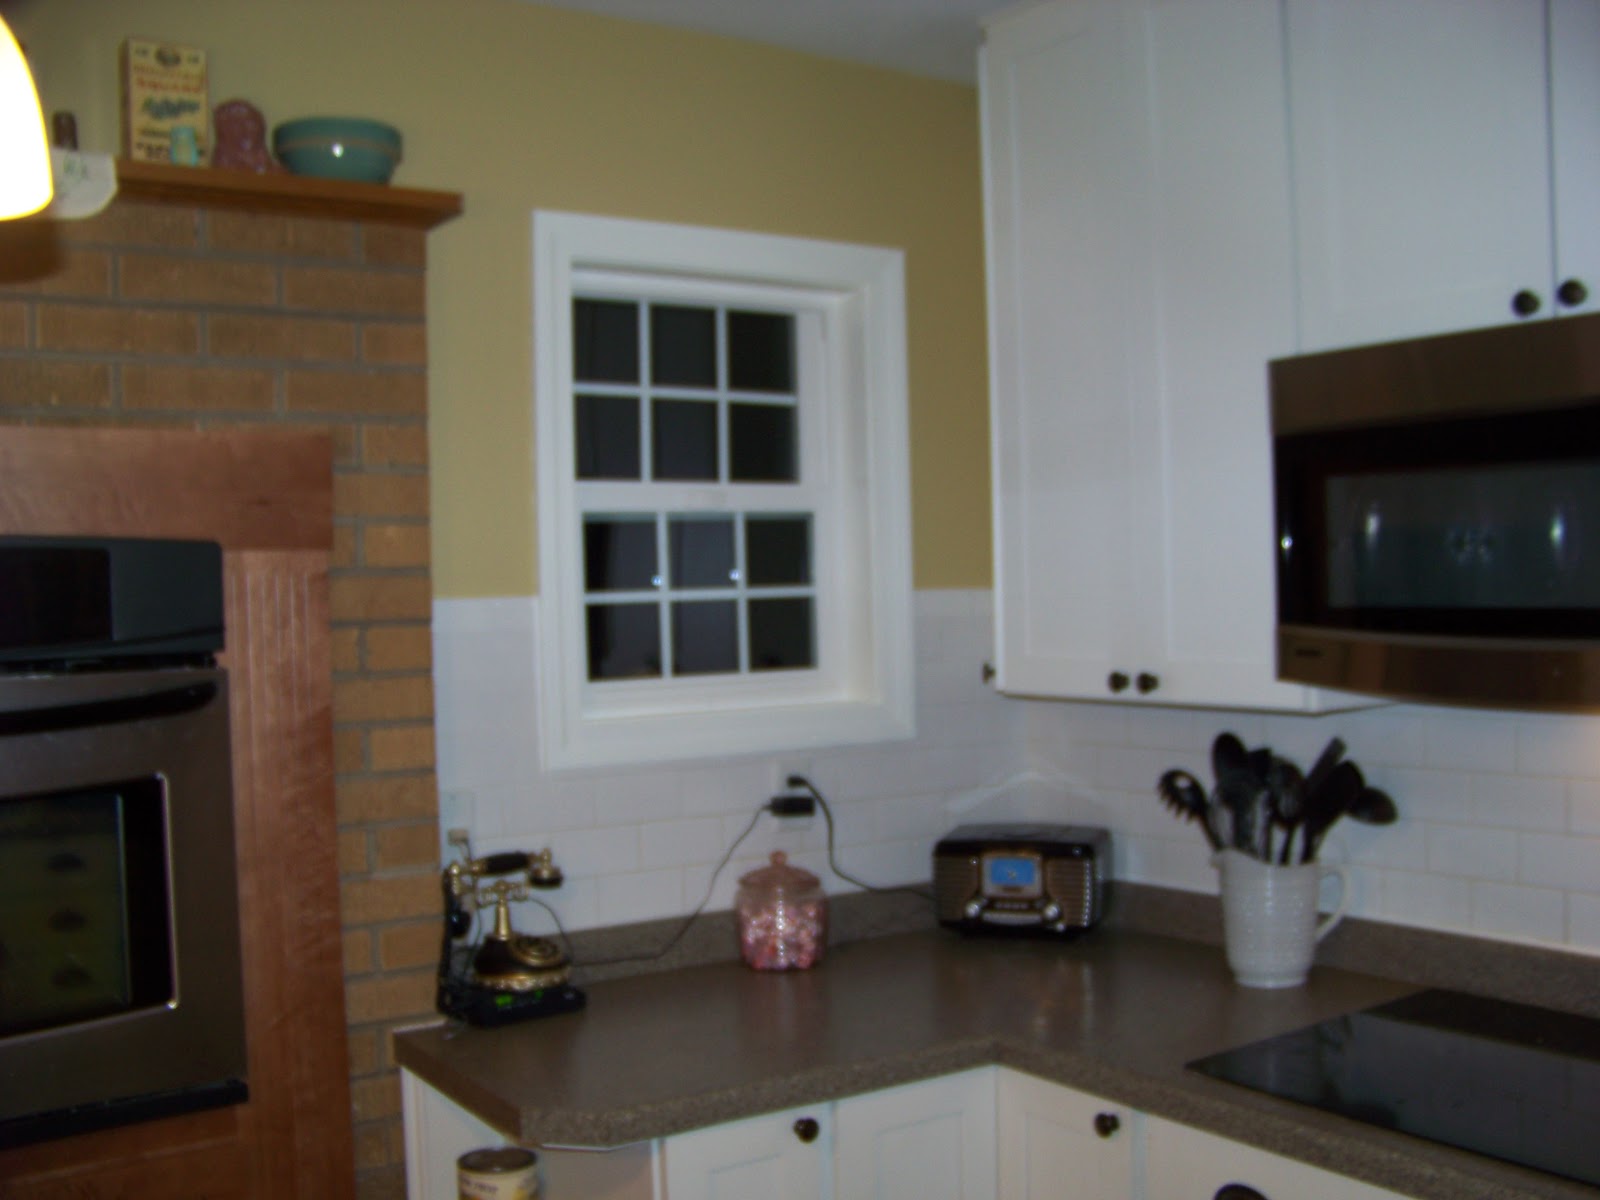
When designing the kitchen we wanted something that would fit in with the rest of the house.  We were going for a more classic feel than a modern one.  The subway tile, white cabinets, drawer pulls and hardwood floors gave us the feel we were looking for and we often hear from people, "Wow, this really fits in with the style of  your home."  We also really like the layout and are glad we flipped things around.  The other kitchen was like the batcave, it was dark, smelly and you really couldn't hear what else was going on in the house.  That wasn't cool with me.
Some of my favorite things in my kitchen are that my oven is in the fireplace.  With little kids running around I never have to worry about them touching a hot oven when I'm trying to take something out of the oven.  I love, love, love my cupboards that have glass doors.  My pantry is wonderful and I'm really glad we decided to put one in the kitchen.  We have multiple closets in the  hallway behind the kitchen that we could have turned into a pantry as well but we decided against that.  Thank goodness!  I did order a bookshelf type cabinet that was supposed to go on the end of the island but somehow that didn't get ordered and by the time it was all figured out, everything was installed and done.  That is the one thing I wish I had but I can definitely live without it.
I am quite happy with the amount of cabinets we have.  If we didn't have the pantry then I would be really limited with space.    I did order a bookshelf type cabinet that was supposed to go on the end of the island but somehow that didn't get ordered and by the time it was all figured out, everything was installed and done.  Three years later there isn't anything I really would change about  my kitchen layout, design or style.  I think turned a dark, poorly designed area into a bright, well functioning kitchen for our family while staying under $15,000. 
Also, if you would like to see more of what we've done to our house, please check out our Cloffice Reveal, Mudroom Makeover and Pantry Makeover.
Coming soon, the Playroom Makeover! 


Linking up here:



January 22, 2011

Kitchen storage tips

When planning out our kitchen three years ago, Mr.A was certain that we wouldn't have enough cupboard space with the amount of cabinets we were ordering. I reassured him that with our big pantry we would have plenty of space for storing things. I am glad to report that we do!
Here are some tips and tricks I use for storage in my kitchen. I'd love to hear what you use for your storage and organization in your kitchen. If you have babies or toddlers, you know that the sippy cups and bottles can be a pain to store somewhere. The valves go missing, wrong tops for the cups and a big mess is usually what happens. I have found a great solution for those pesky sippy cup valves and tops, a little white stackable storage basket from Target.


I also bought myself some more of these baskets and put granola bars, cereal bars, applesauce cups and the occasional package of fruit snacks in one in my pantry. It's so nice to just look in the basket and see how many we have left of something because people at my house like to leave empty boxes of granola bars and the like in the pantry. When someone decides they want a granola bar and goes to grab one, they come out empty handed.


I love using the see through storage containers for this reason as well, one quick glance and I can tell we need to add crackers to the grocery list.

In another large basket I keep our bread and peanut butter, which makes it really handy to just pull out of the pantry to make lunches.  
 The bonus is that these baskets stack on top of each other so they fit nicely in my pantry.


I also use one of these baskets to keep all my plastic container lids, seems they were always getting lost before but not anymore, all neat and tidy in their new home.


I also use this type of basket for my measuring cups as I had a hard time finding the right one when I needed it. It's been working out great, no more cups stuck under the utensil drawer causing a traffic jam.


Speaking of utensils, I keep my most used utensils in this cute little pitcher next to my cook top. It freed up some room in the utensil drawer and I love having them right next to me when I'm cooking.


I like having glass cupboards where I can show off my dishes. I first lined the back of each cupboard with scrapbook paper to give it some pizazz. I have white dishes so they can go with pretty much any color theme I go with in my kitchen. I also bought some cute flower glasses from Target to give a little pop of color in the cupboard as well.


We store all our "ugly" drinking cups and glasses above the sink.


I keep the kids' bowls, cups and plates on the lowest shelf in the pantry so that they can just grab their own breakfast in the morning. I have done this since our oldest was probably 6 years old.


Two of my children like to get up before Mr.A and I do and we love that they can just go get their own cereal and don't come asking us for help. My children have always been really good about not just eating out of the pantry whenever they want. They have to come and ask if it's sometime other than breakfast that they would like to eat.
One thing I was having trouble finding a home for was my bags of potatoes and onions.  I found this stackable storage basket at Wal-mart and it's perfect!

So that's it for my storage tips but I'd love to hear from you and what great solutions you've found to some of those pesky kitchen storage problems.

I'm linking up here:


January 9, 2011

Our Kitchen Remodel Part 2

.
This summer while working on the exterior, our neighbor suggested we take out the octagonal window and put in a window that would allow us to see out into our driveway without having to run and look out our dining room window.  After going back and forth on the idea most of the summer, Mr. A and I decided at the last minute to replace the window. We waited two weeks for it to come in, which put our project on hold because there wasn't much else to do but finish up the north side of the house where the window needed to be put in.  The neighbor that suggested this little window remodel also said he would help put the new window in.  What a guy!   Here are a few before pictures, that I actually remembered to take, I'm so proud of myself!!!!

BEFORE:


During:


Discussing how to best put the window in or maybe planning a new Drive-up meal service? 

AFTER:

I didn't take any pictures of what it looked like when the window was in but the plaster wasn't fixed.  Just imagine an octagon shape off the right top corner of the window with some insulation shoved in there and that was the way it stayed for a few months.   Yup, I'm fast to start a project and very slow to ever finish it, completely.


Here it is again, before:


After:


I  like the functionality of the window but I miss the charm of the old one.  Debating a valance for Ithe window, not sure yet.  I am ready to move on to the dining room corner hutches.  I bought my fabric for the dining room chairs today at Hancock Fabrics, 3 yards for $12!  Woo hoo!  I love a good deal!  Stay tuned for the next project.......

December 10, 2010

Pantry Makeover!

It's been three years since we remodeled the kitchen and there are still a few things we didn't finish, like baseboard trim in the pantry. Mr.A put up the shelving for me, put the door on and then I said, "Ok, that looks good for now, I have a new project for you."
A few weeks ago I came across this blog post here and had immediate pantry envy! So at 9:30 one weeknight evening I decided it's time to pretty up my pantry. Mr.A doesn't really like when this happens, especially so late in the evening but I talked him into it, saying it would be fun and adventurous. And guess what, he agreed! So here are the before pictures of the pantry, not bad but definitely not cute.


So it was white, white and more white without baseboard trim and pretty much a catchall for appliances, food and plastic bags. First order of business was to paint that bad boy, so I had my loving husband unscrew all the brackets and remove all the shelves. Acutally, he volunteered to do this because he knows my tendancy to hurry up and paint, why take it down when you can paint around it? 
Seeing as it was 9:30 at night and there weren't a lot of places open to go get some paint mixed, I just walked down into my little paint store in the basement and picked a color.  I decided to use the rest of the dining room paint to make it kind of a fun pop of color.
I also decided that  I needed some cute canister type storage stuff that was see through and I could put cute vinyl labels on.  After looking at a few stores, I decided to wait until we were in Minneapolis and I could go to IKEA.  Well the snow and some hives pitted against our trip but that's ok, I found some cute canisters at the grocery store for super cheap!
Here is the after so far, I want to add a few more things, like new cereal containers which was Mr.A's idea and a couple baskets of some variety but they will have to wait a bit.  Oh yes, and I want some vinyl lettering for my canisters. Just so I don't end up confusing the flour with corn starch or something crazy like that!


Hope you enjoyed the pantry remodel, I know I am loving loving loving it! In fact, I don't want to use anything out of the containers because they look so nice and full and pretty. And yes, the big bag full of plastic bags is still on the pantry floor. They need to be moved to some other location or they need some sort of cute home/type thing. If you have a great idea for plastic bags other than to put dog poop in, I'd love to hear it!

I have since added labels to my containers.  On a recent trip to Wally world I found clear shipping labels and seeing as I don't yet own a Silhouette, (hint, hint) I thought this was a cheap $7 solution for labeling my containers.  It was super easy and if I ever need to change them out, the package came with 10 sheets and 100 labels, just make sure to buy Shipping labels and not Address labels. 


Also don't forget to check out The Kitchen Remodel, the Mudroom Makeover and the Cloffice Reveal.